Category: Cooking My Way Through Pinterest

With so many recipes at our finger tips… this is my take on it all.

  • Thanksgiving Ramen

    Thanksgiving Ramen

    Today is the day after Thanksgiving. This morning I opened up my fridge and found the carcass I asked to take home yesterday from my mom’s annual feast. While it seemed like a good idea while requesting the turkey bones the task of making turkey broth didn’t interest me. I conjured up the energy to go through with and boy am I glad I did.

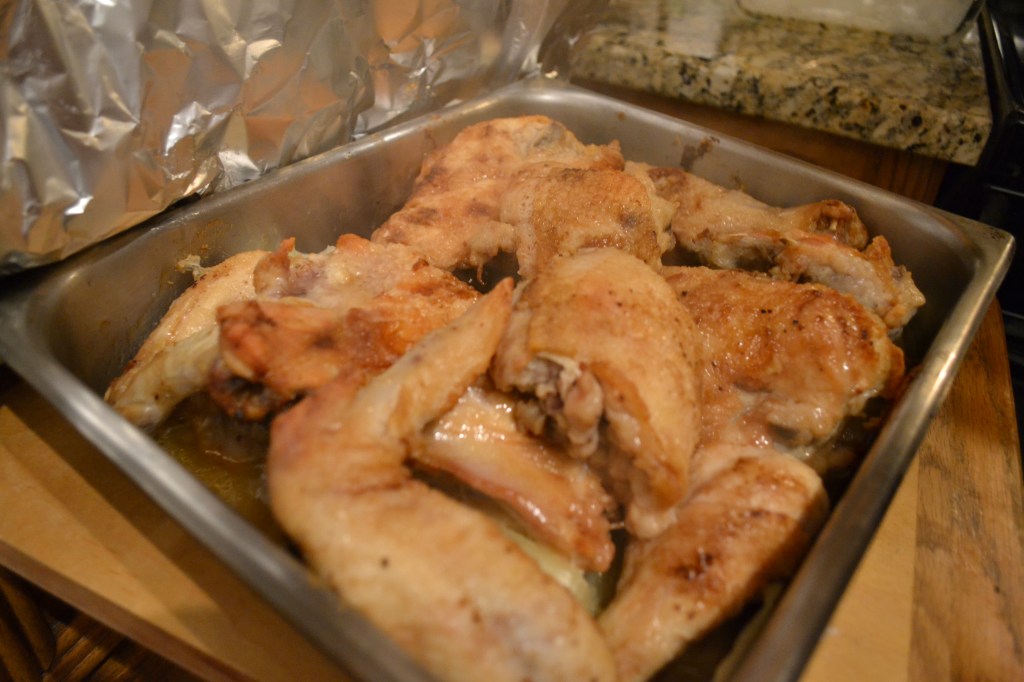
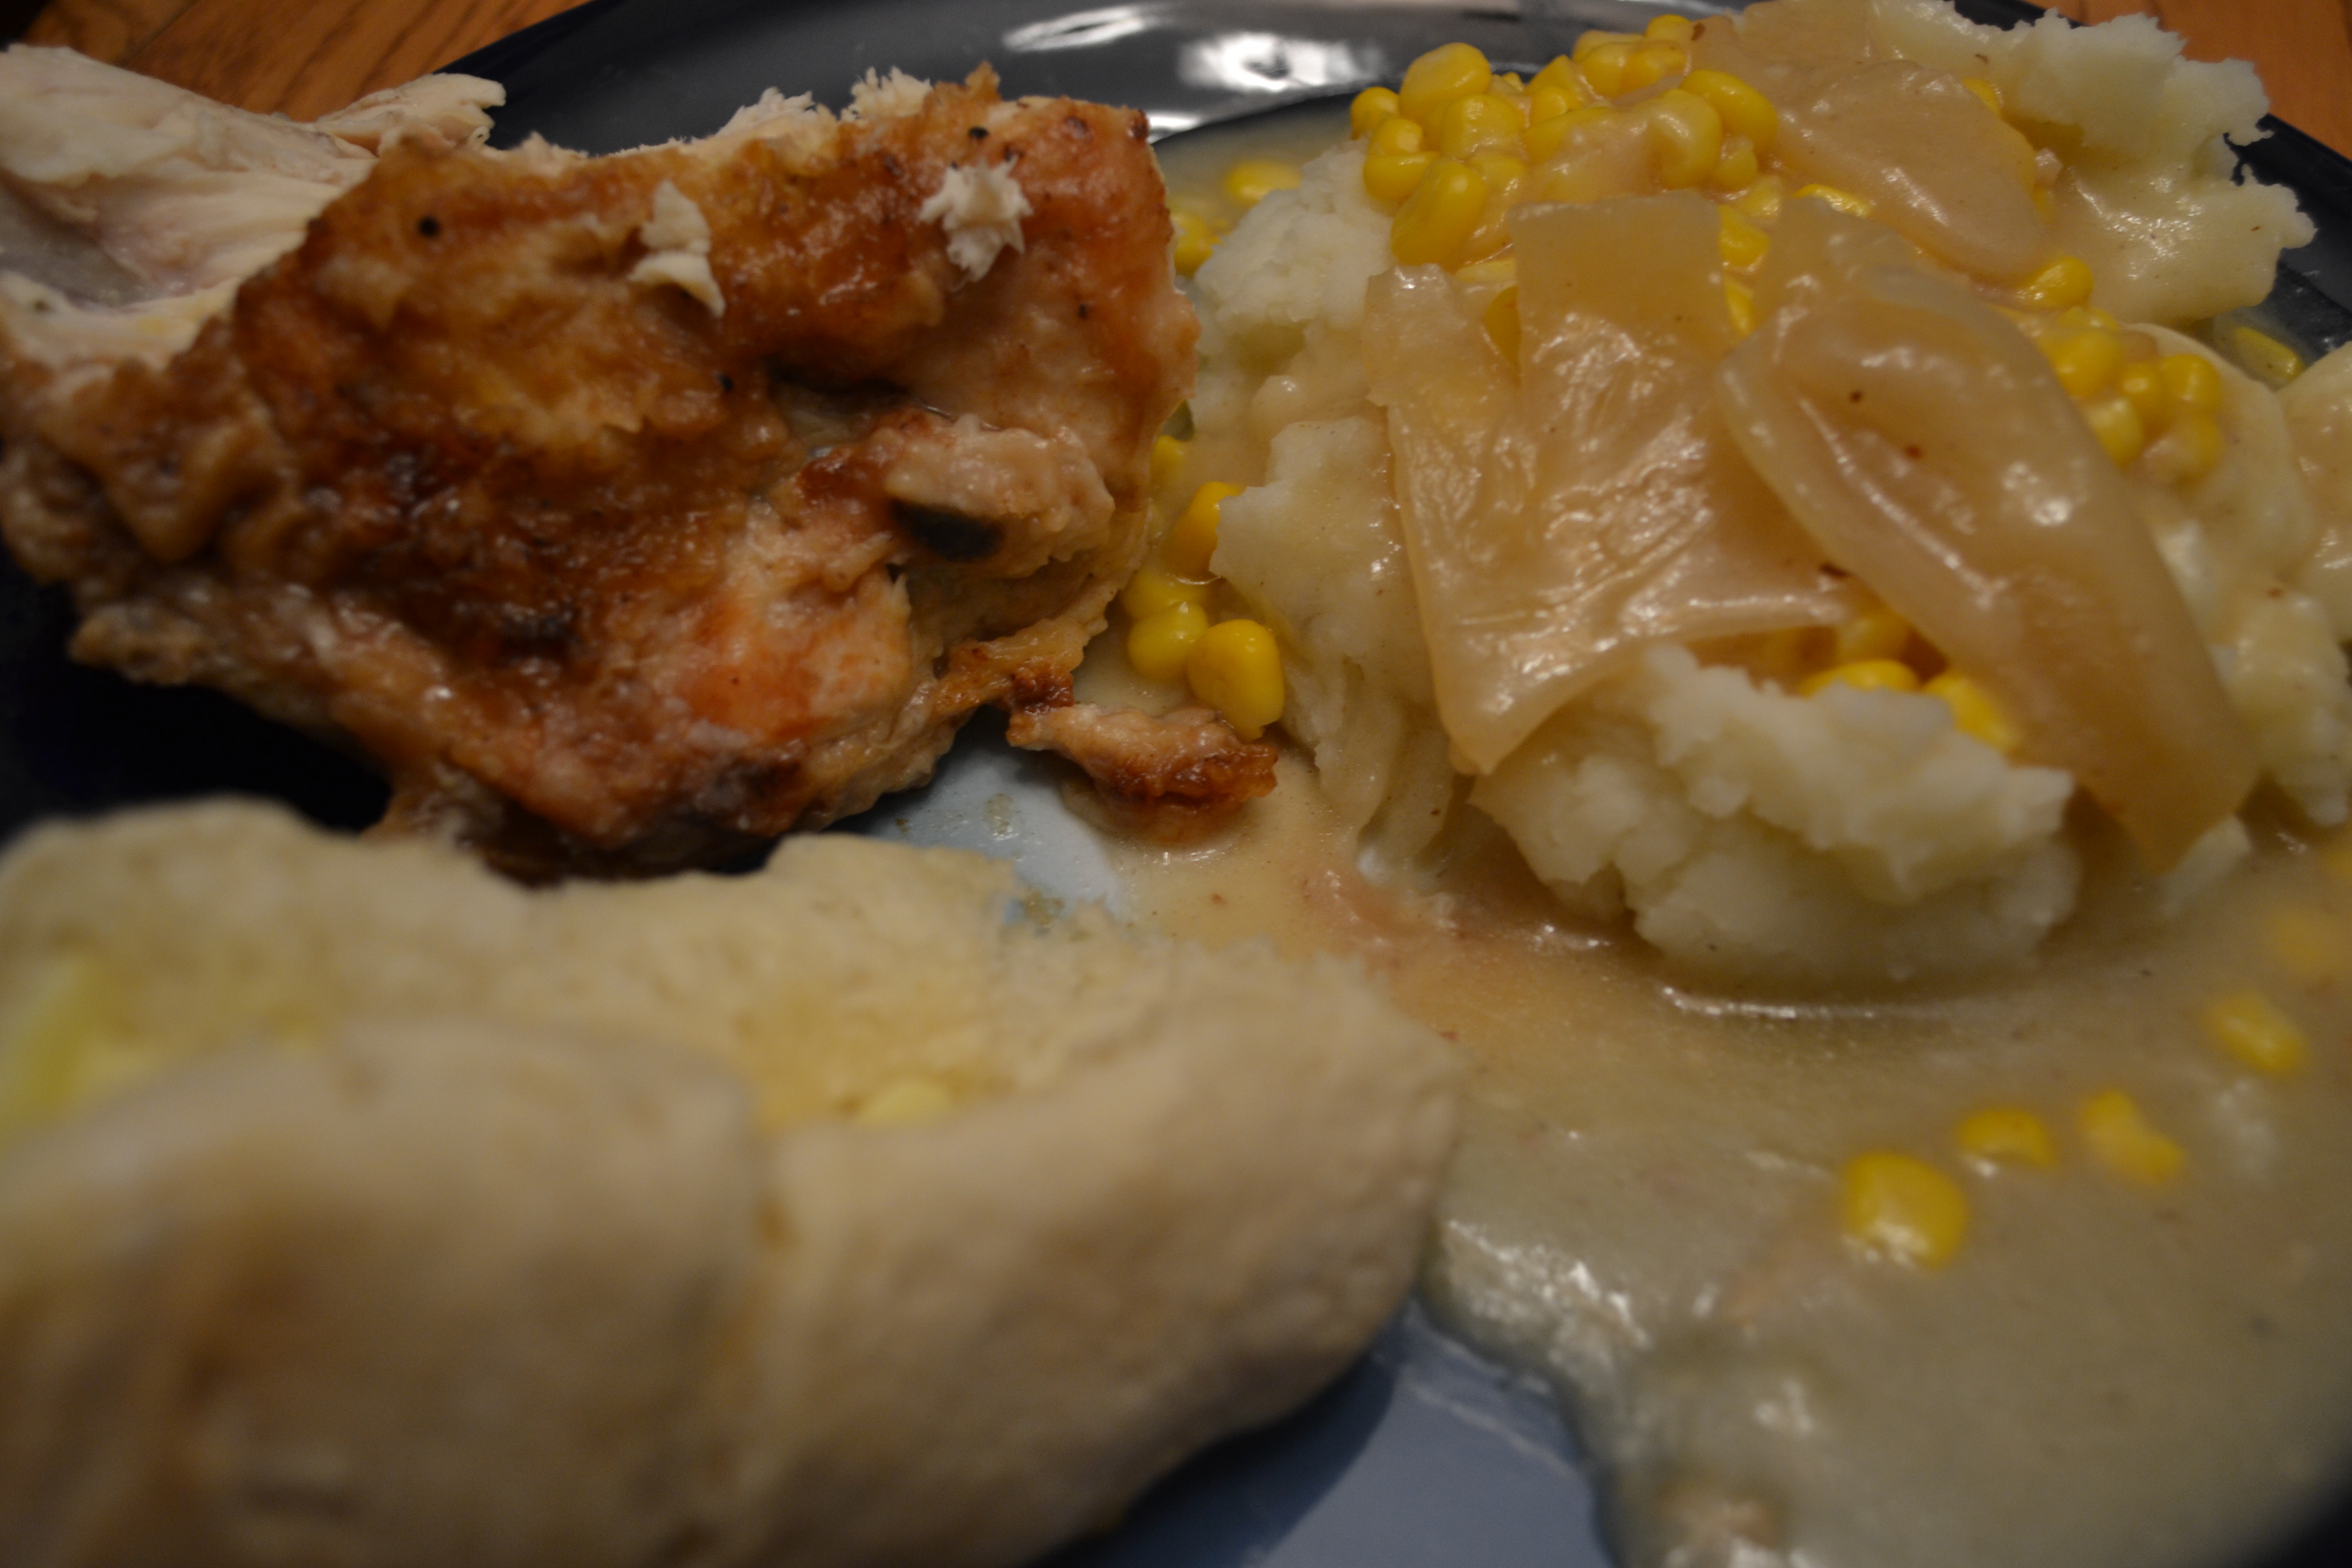
    My tray of deliciousness from Thanksgiving. I love my mom’s cooking.

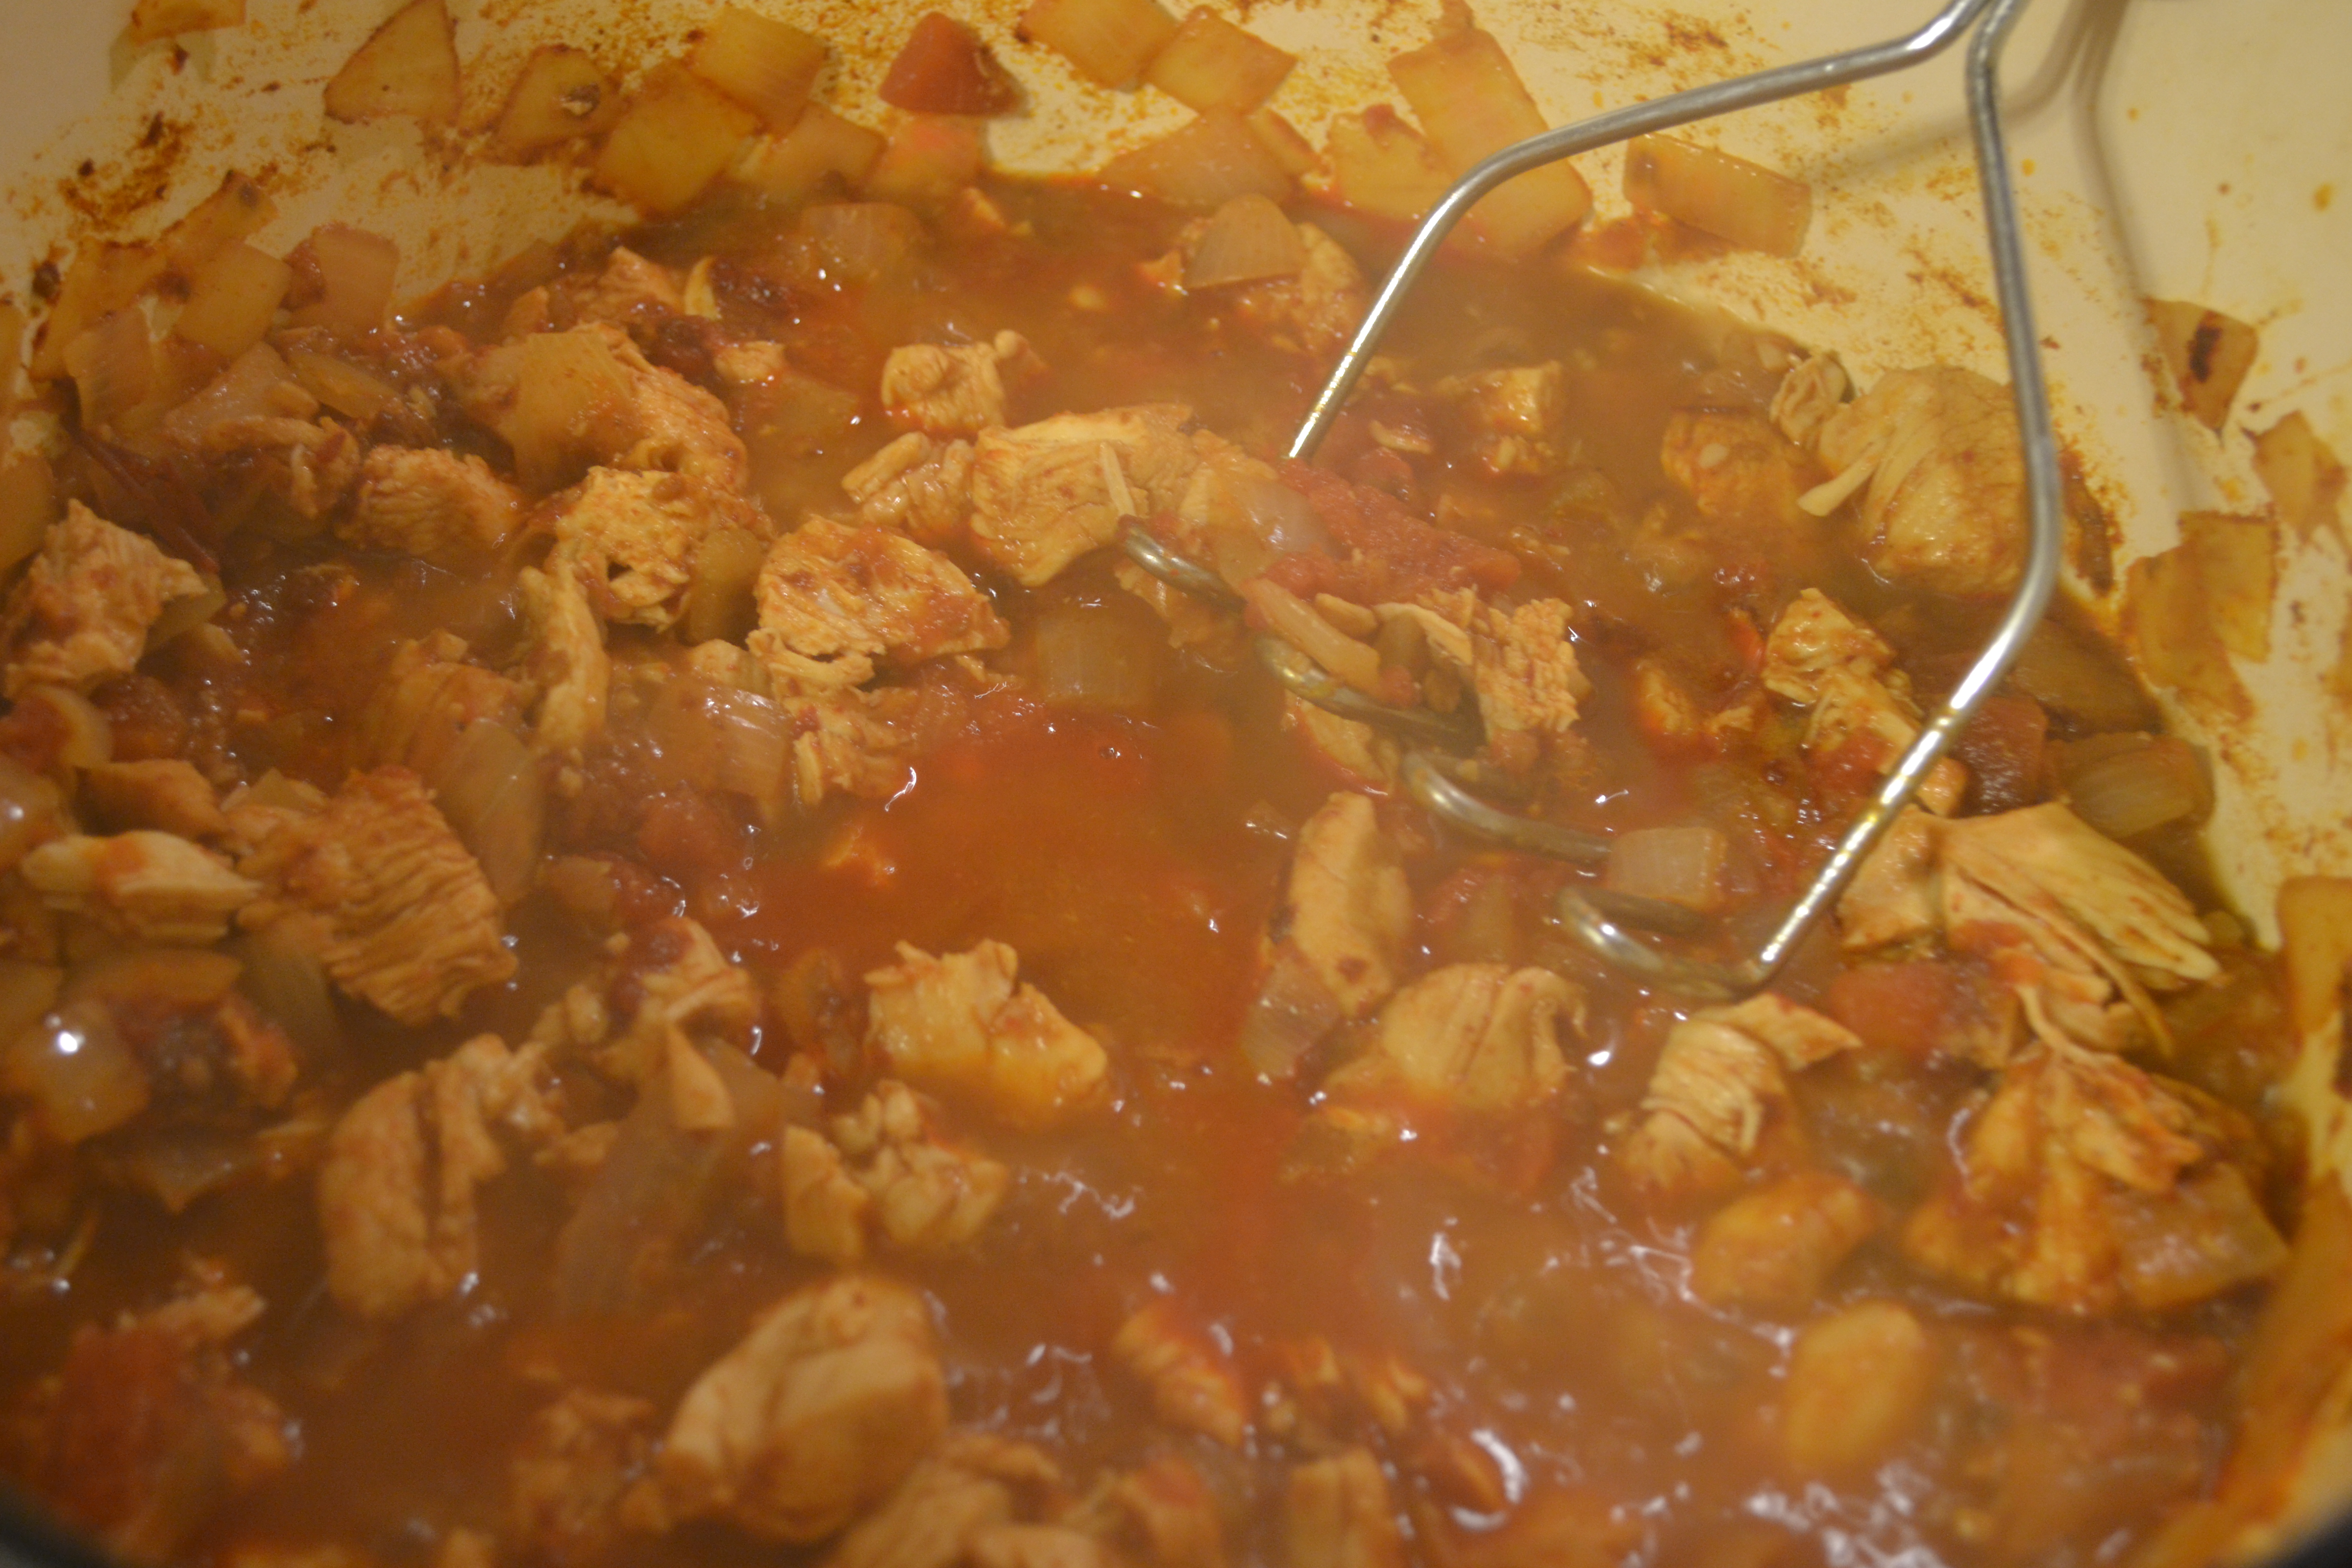
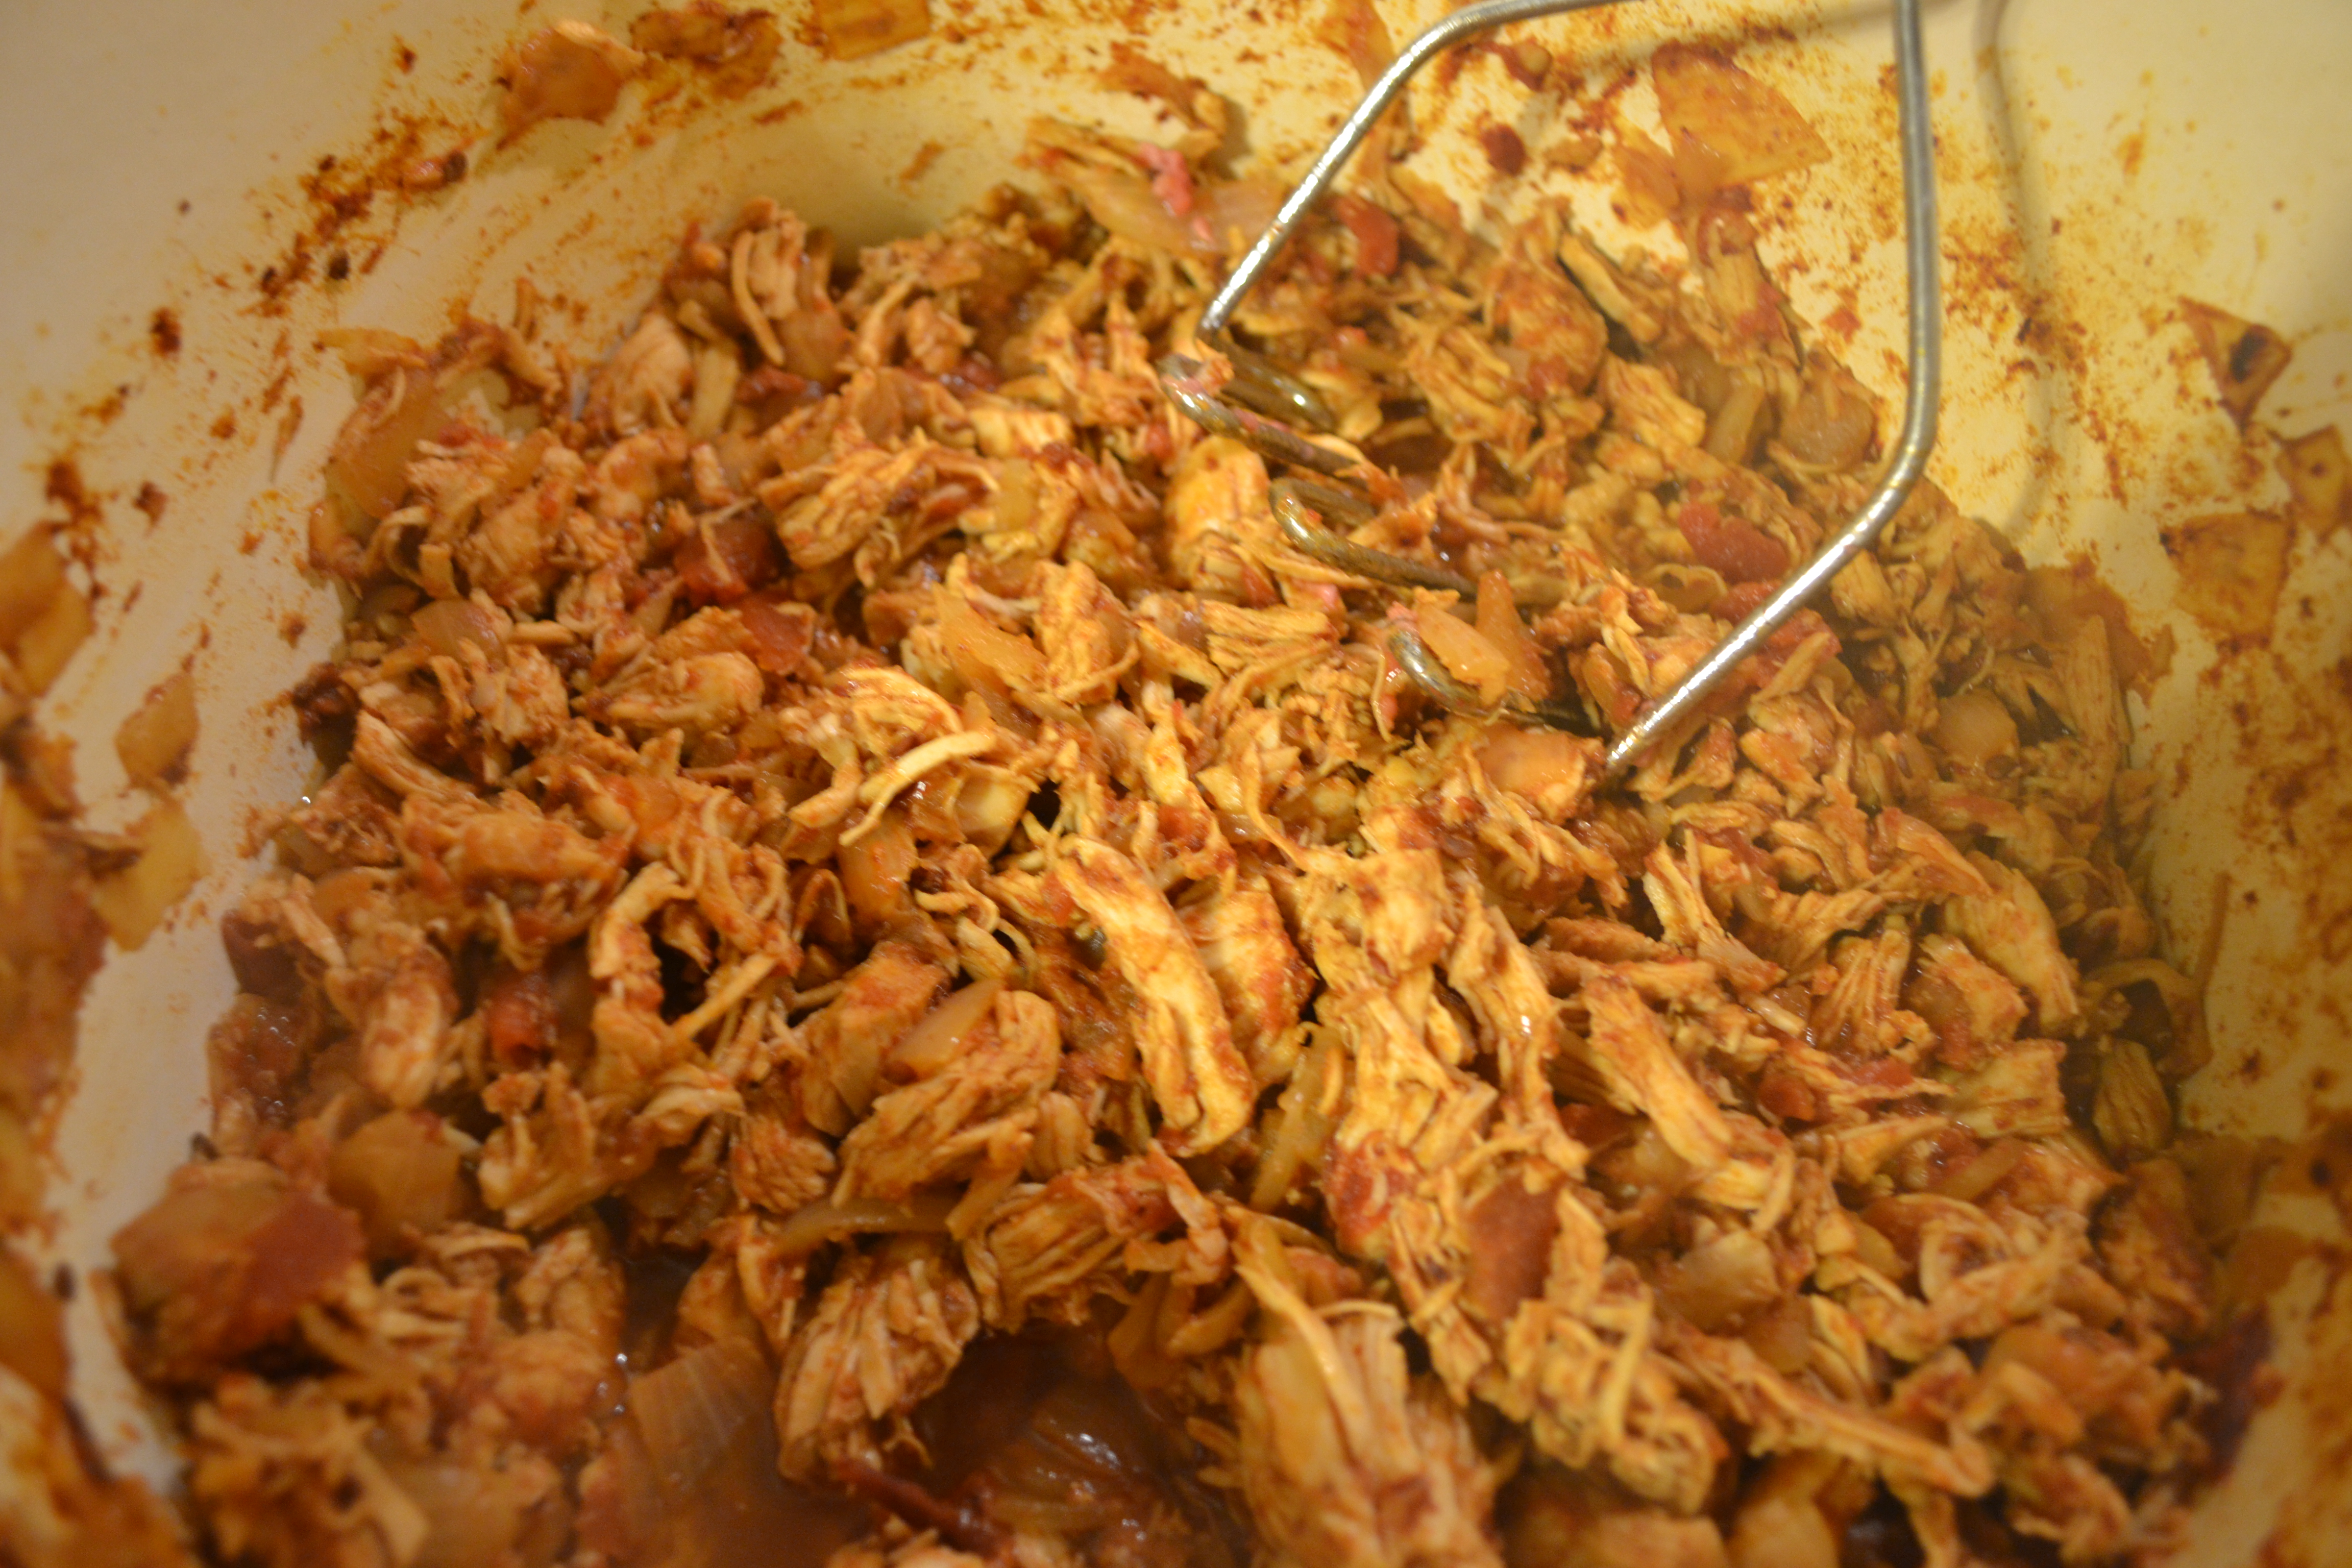
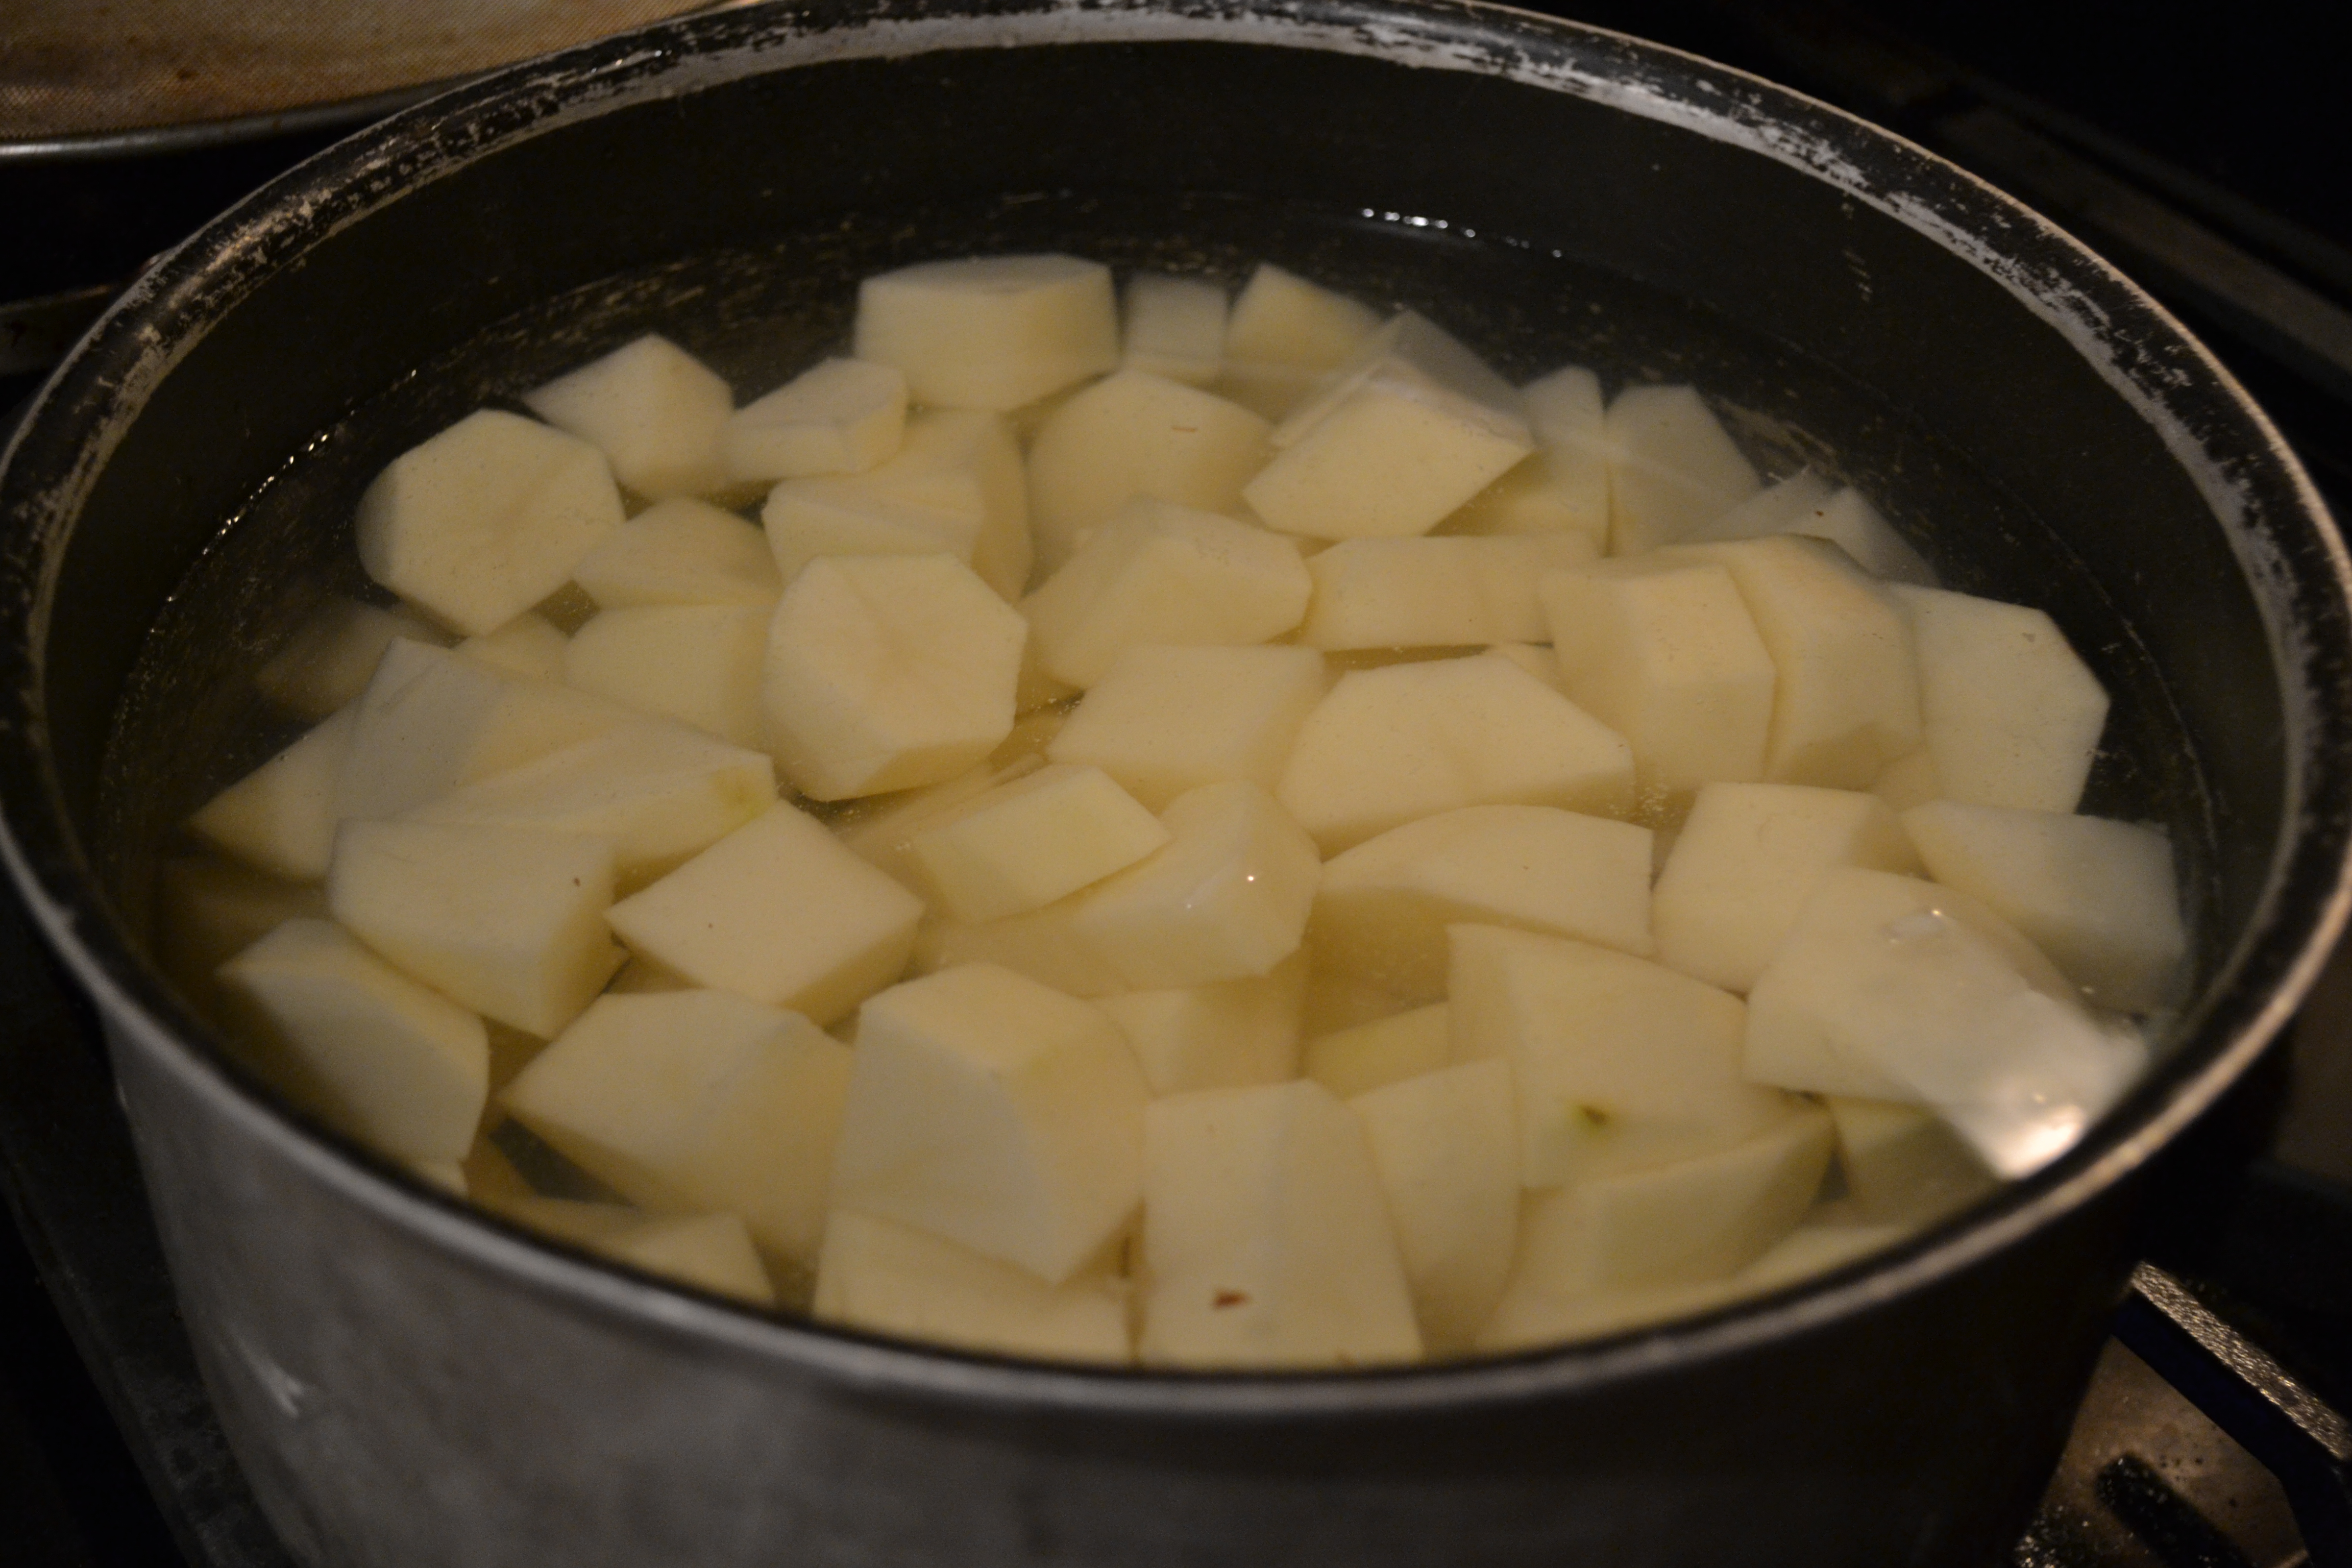
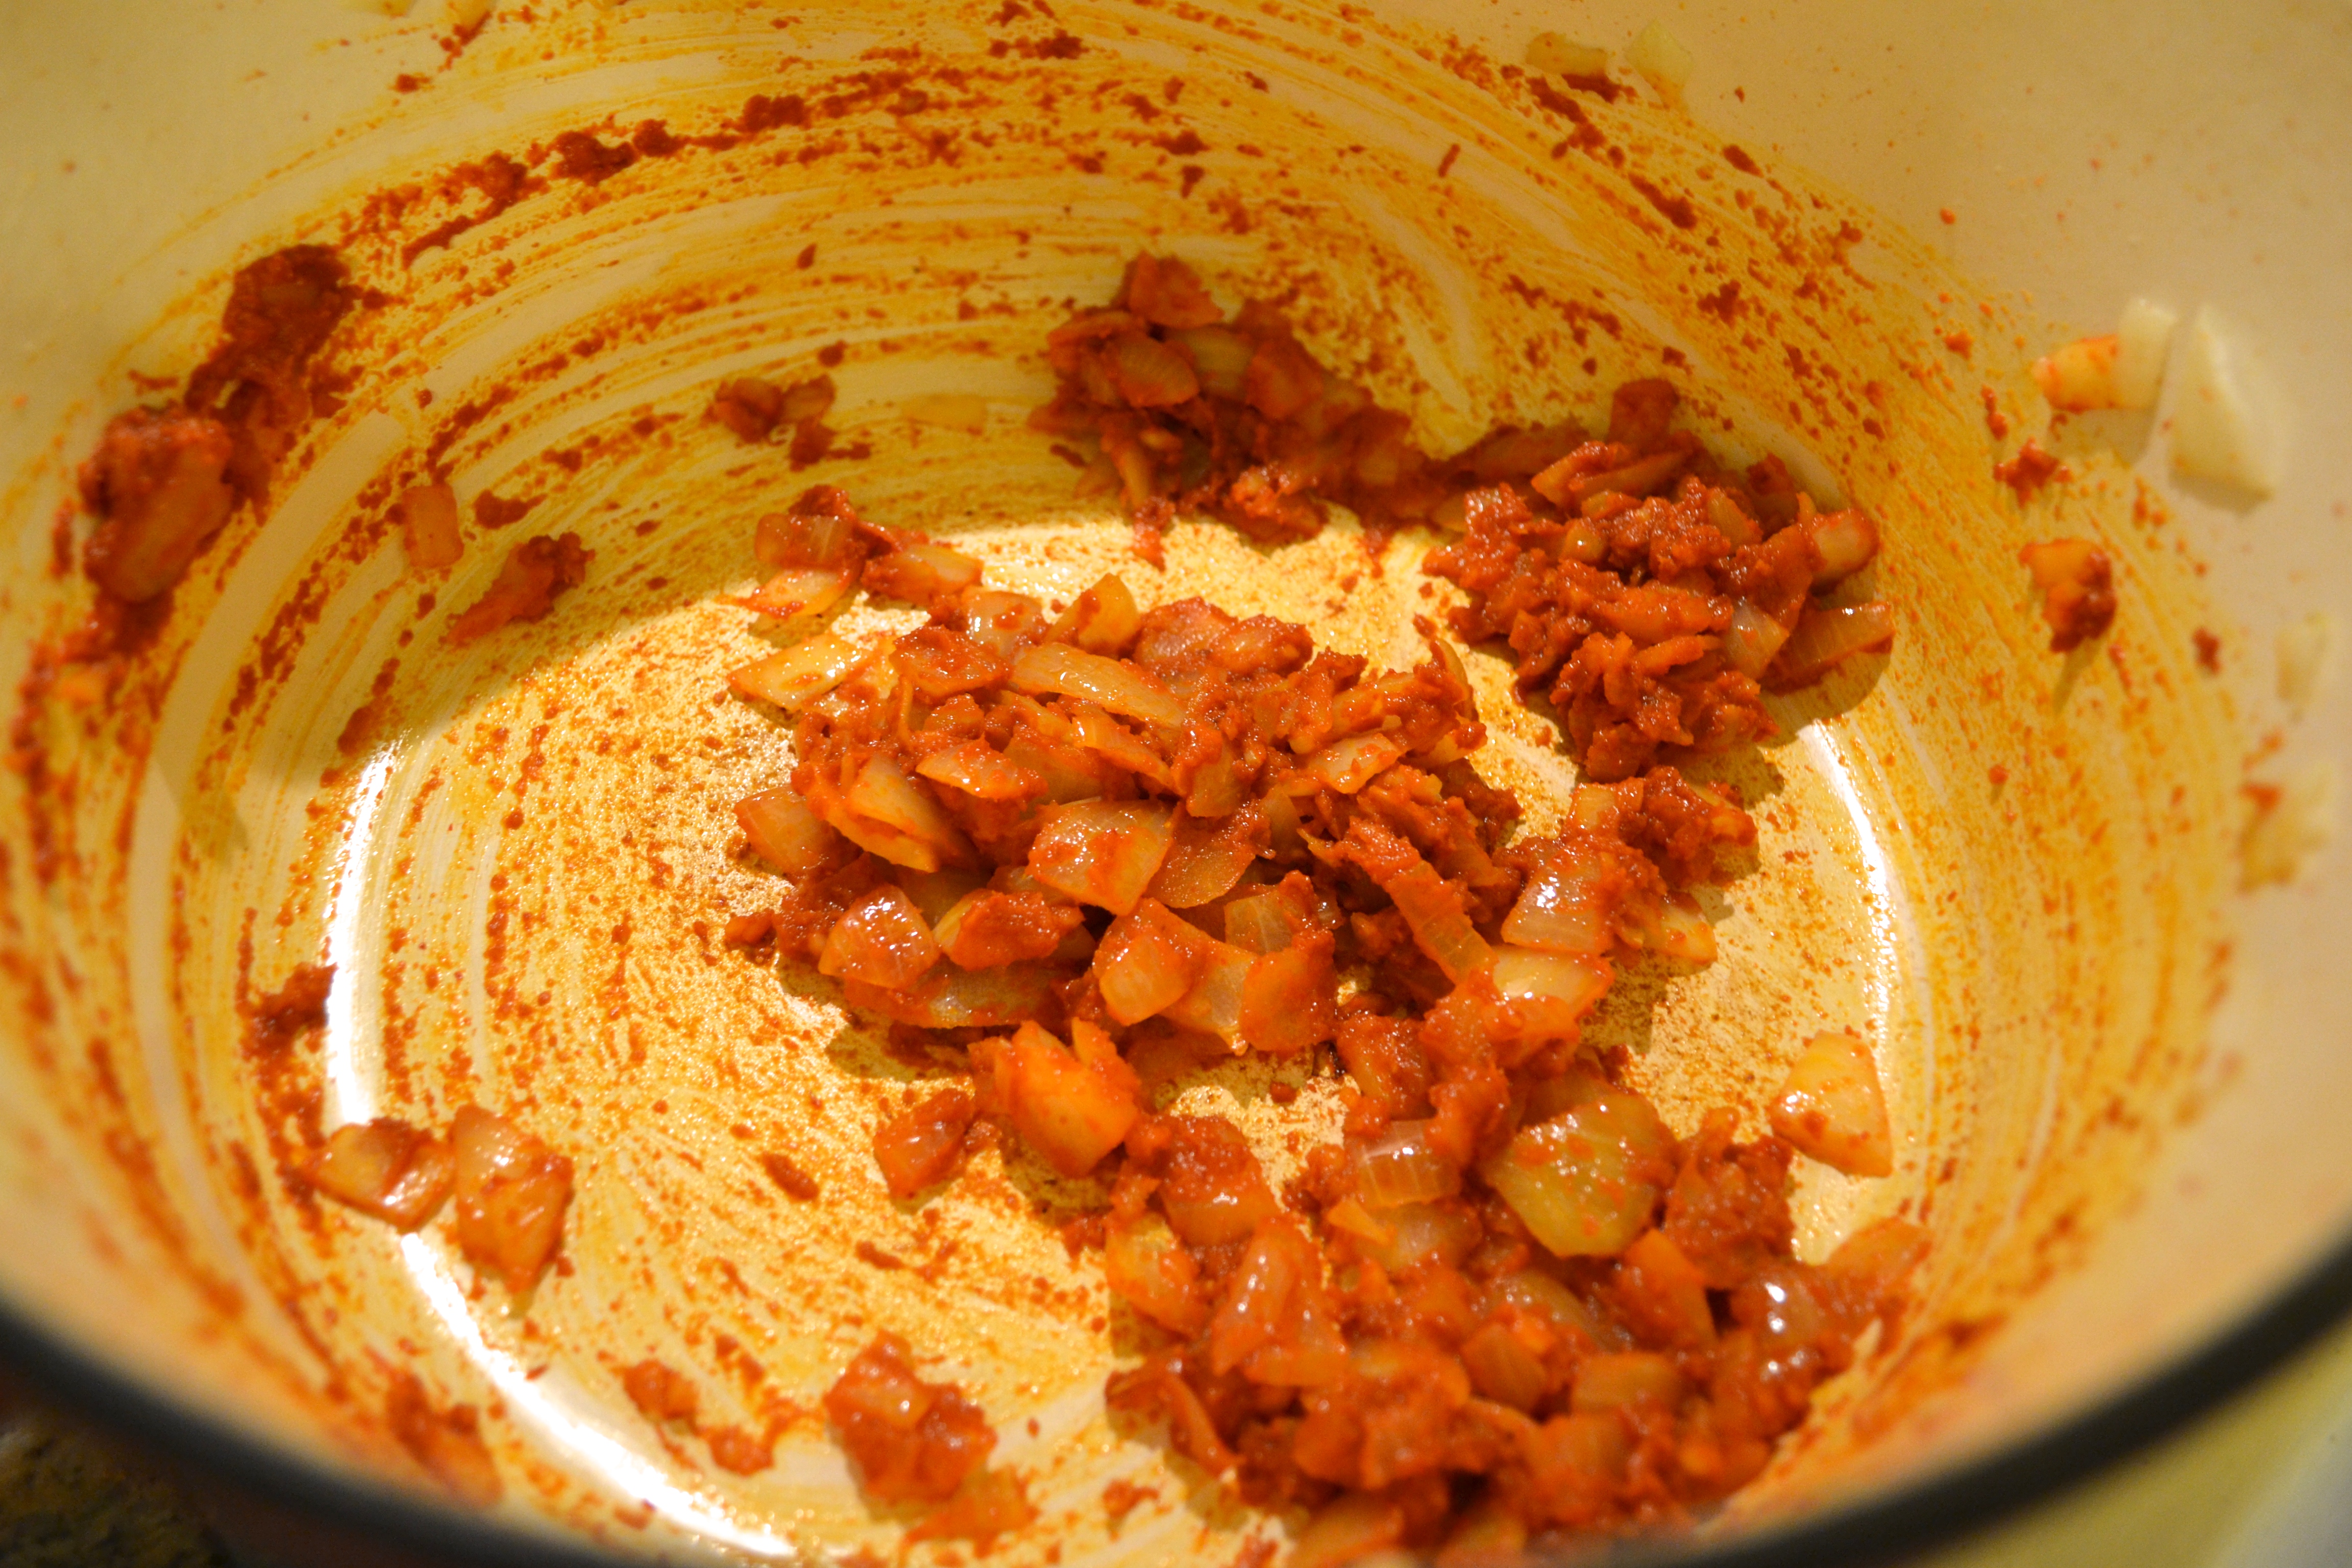
    The broth: the carcass was too big to fit in my stock pot or my crock pot so I broke it in half and split the bones equally. There was a ton of meat still on the bones and I pulled off what I could. I then filled each container with the following ingredients:

    • water
    • small carrot
    • a quarter of an onion
    • a half a stalk of celery
    • a clove of garlic
    • a bay leaf
    • a few shakes of thyme
    • a few cranks of freshly cracked pepper
    • a few shakes of parsley

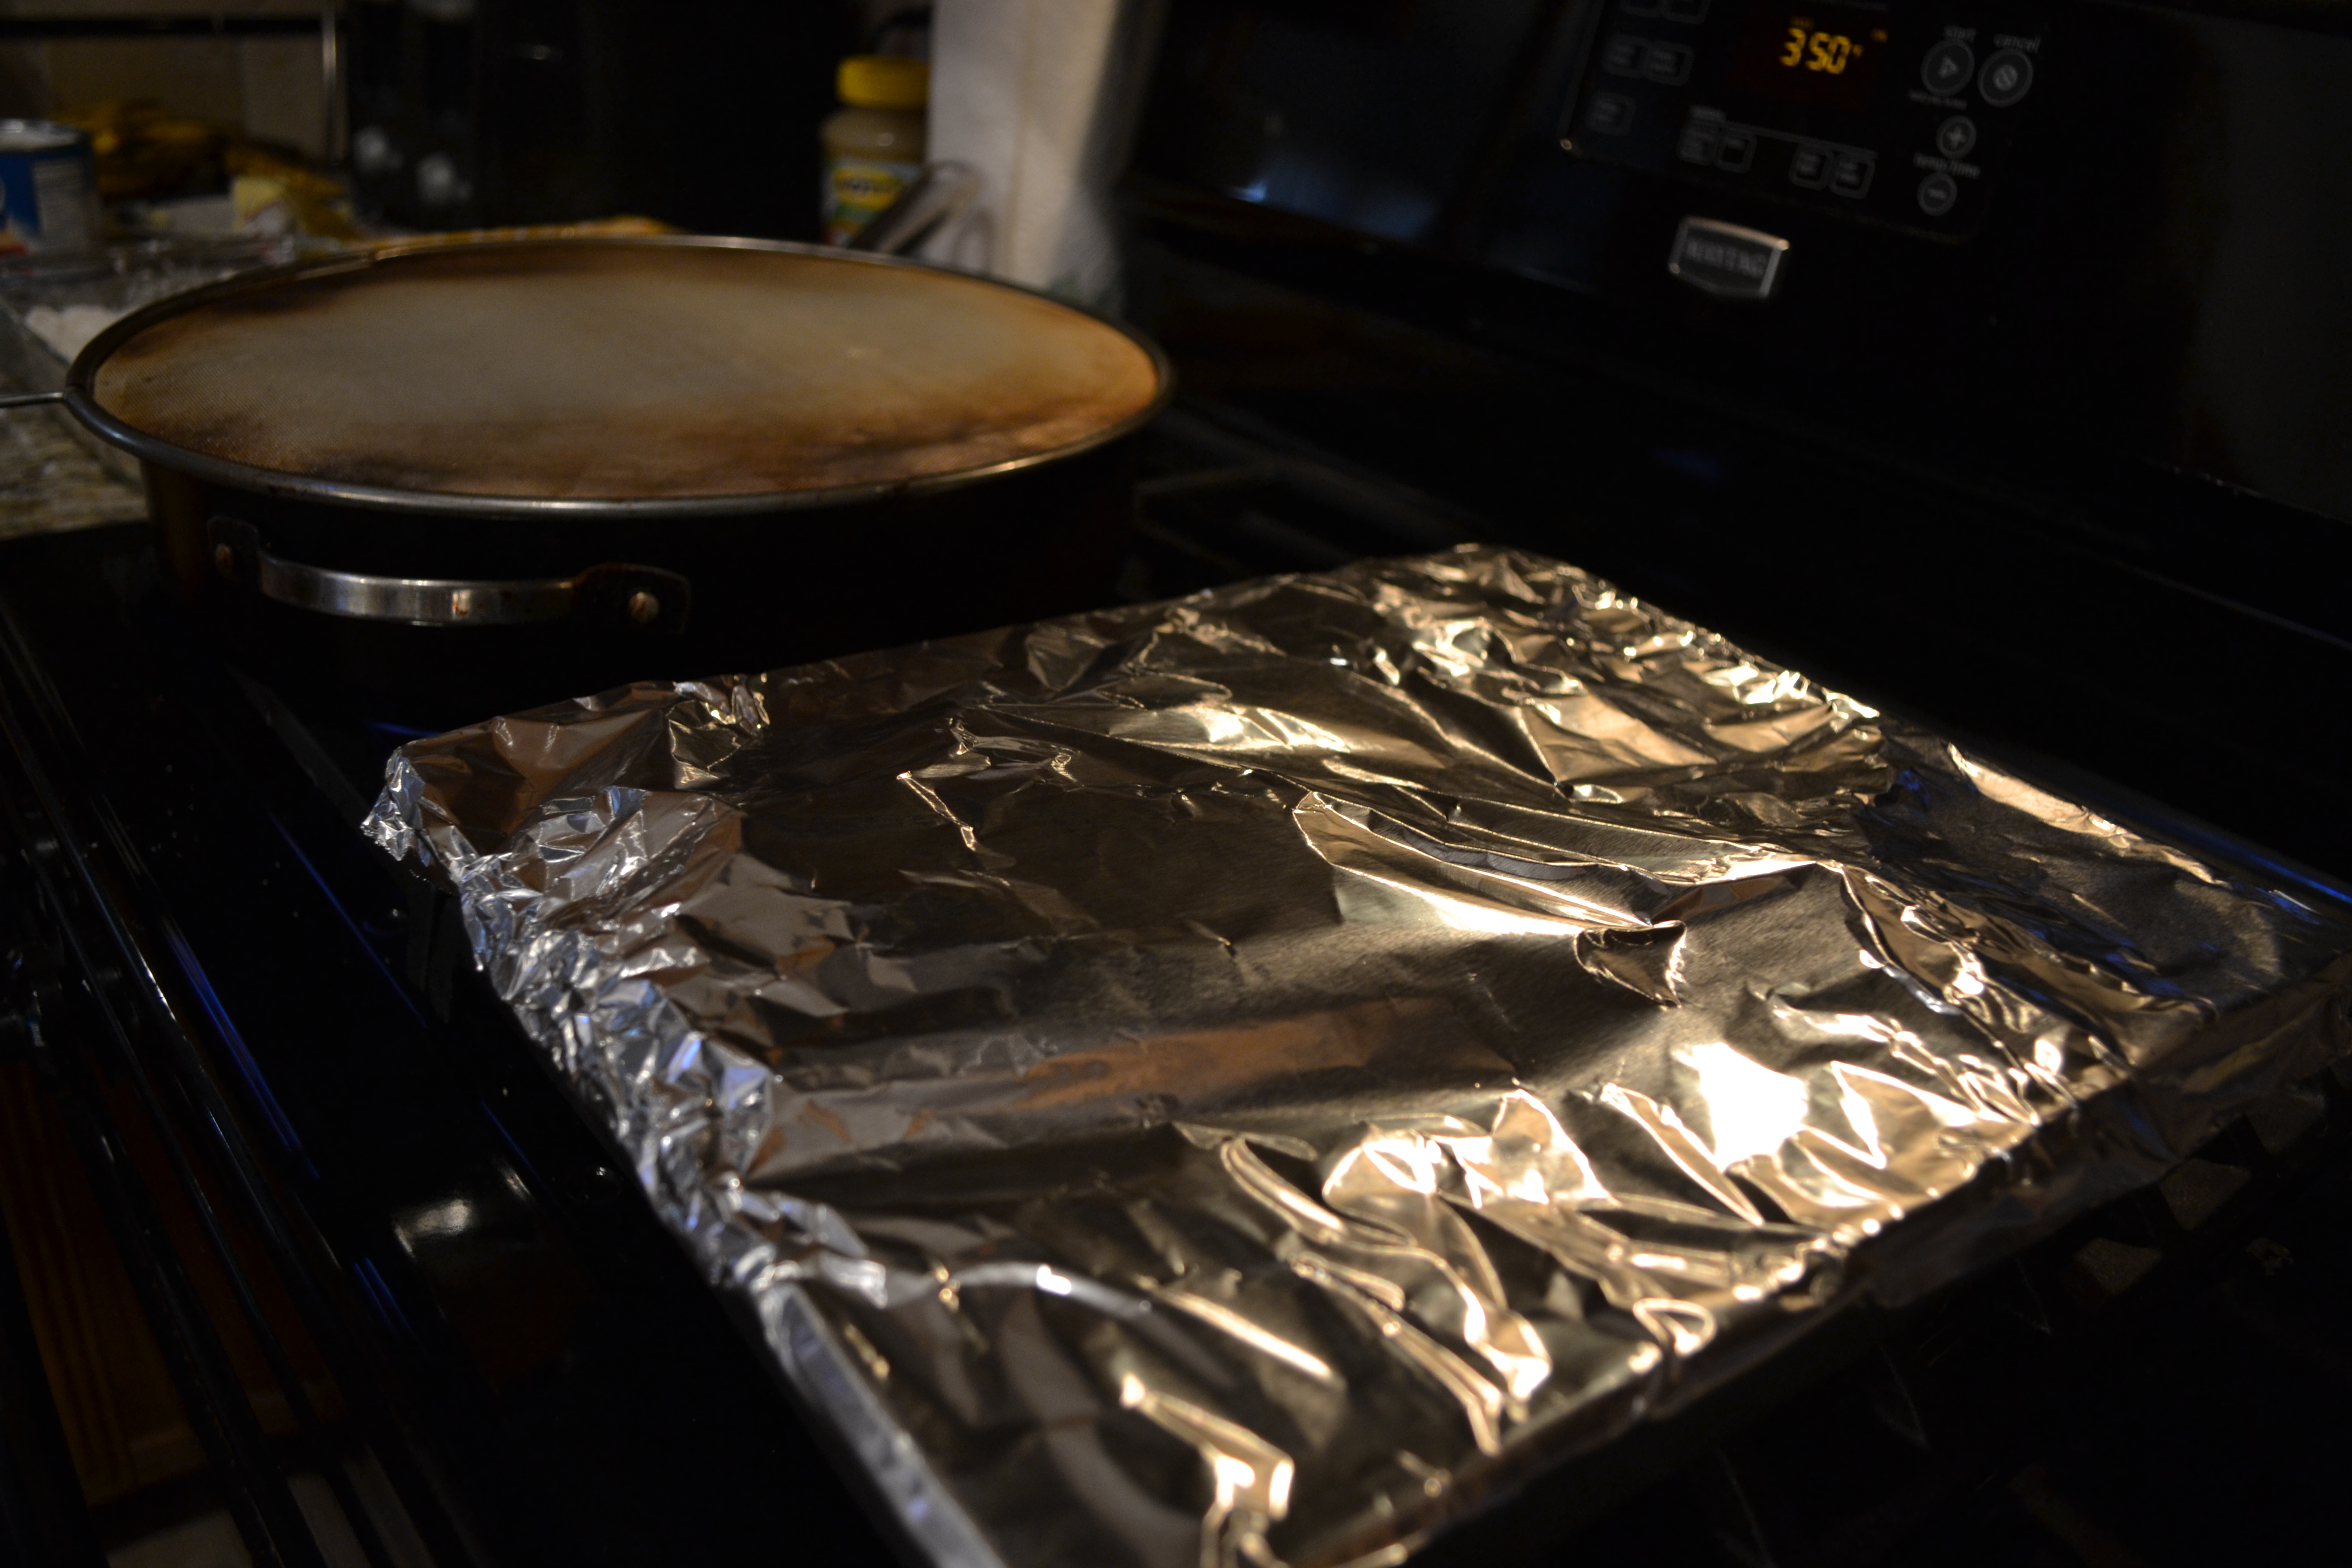
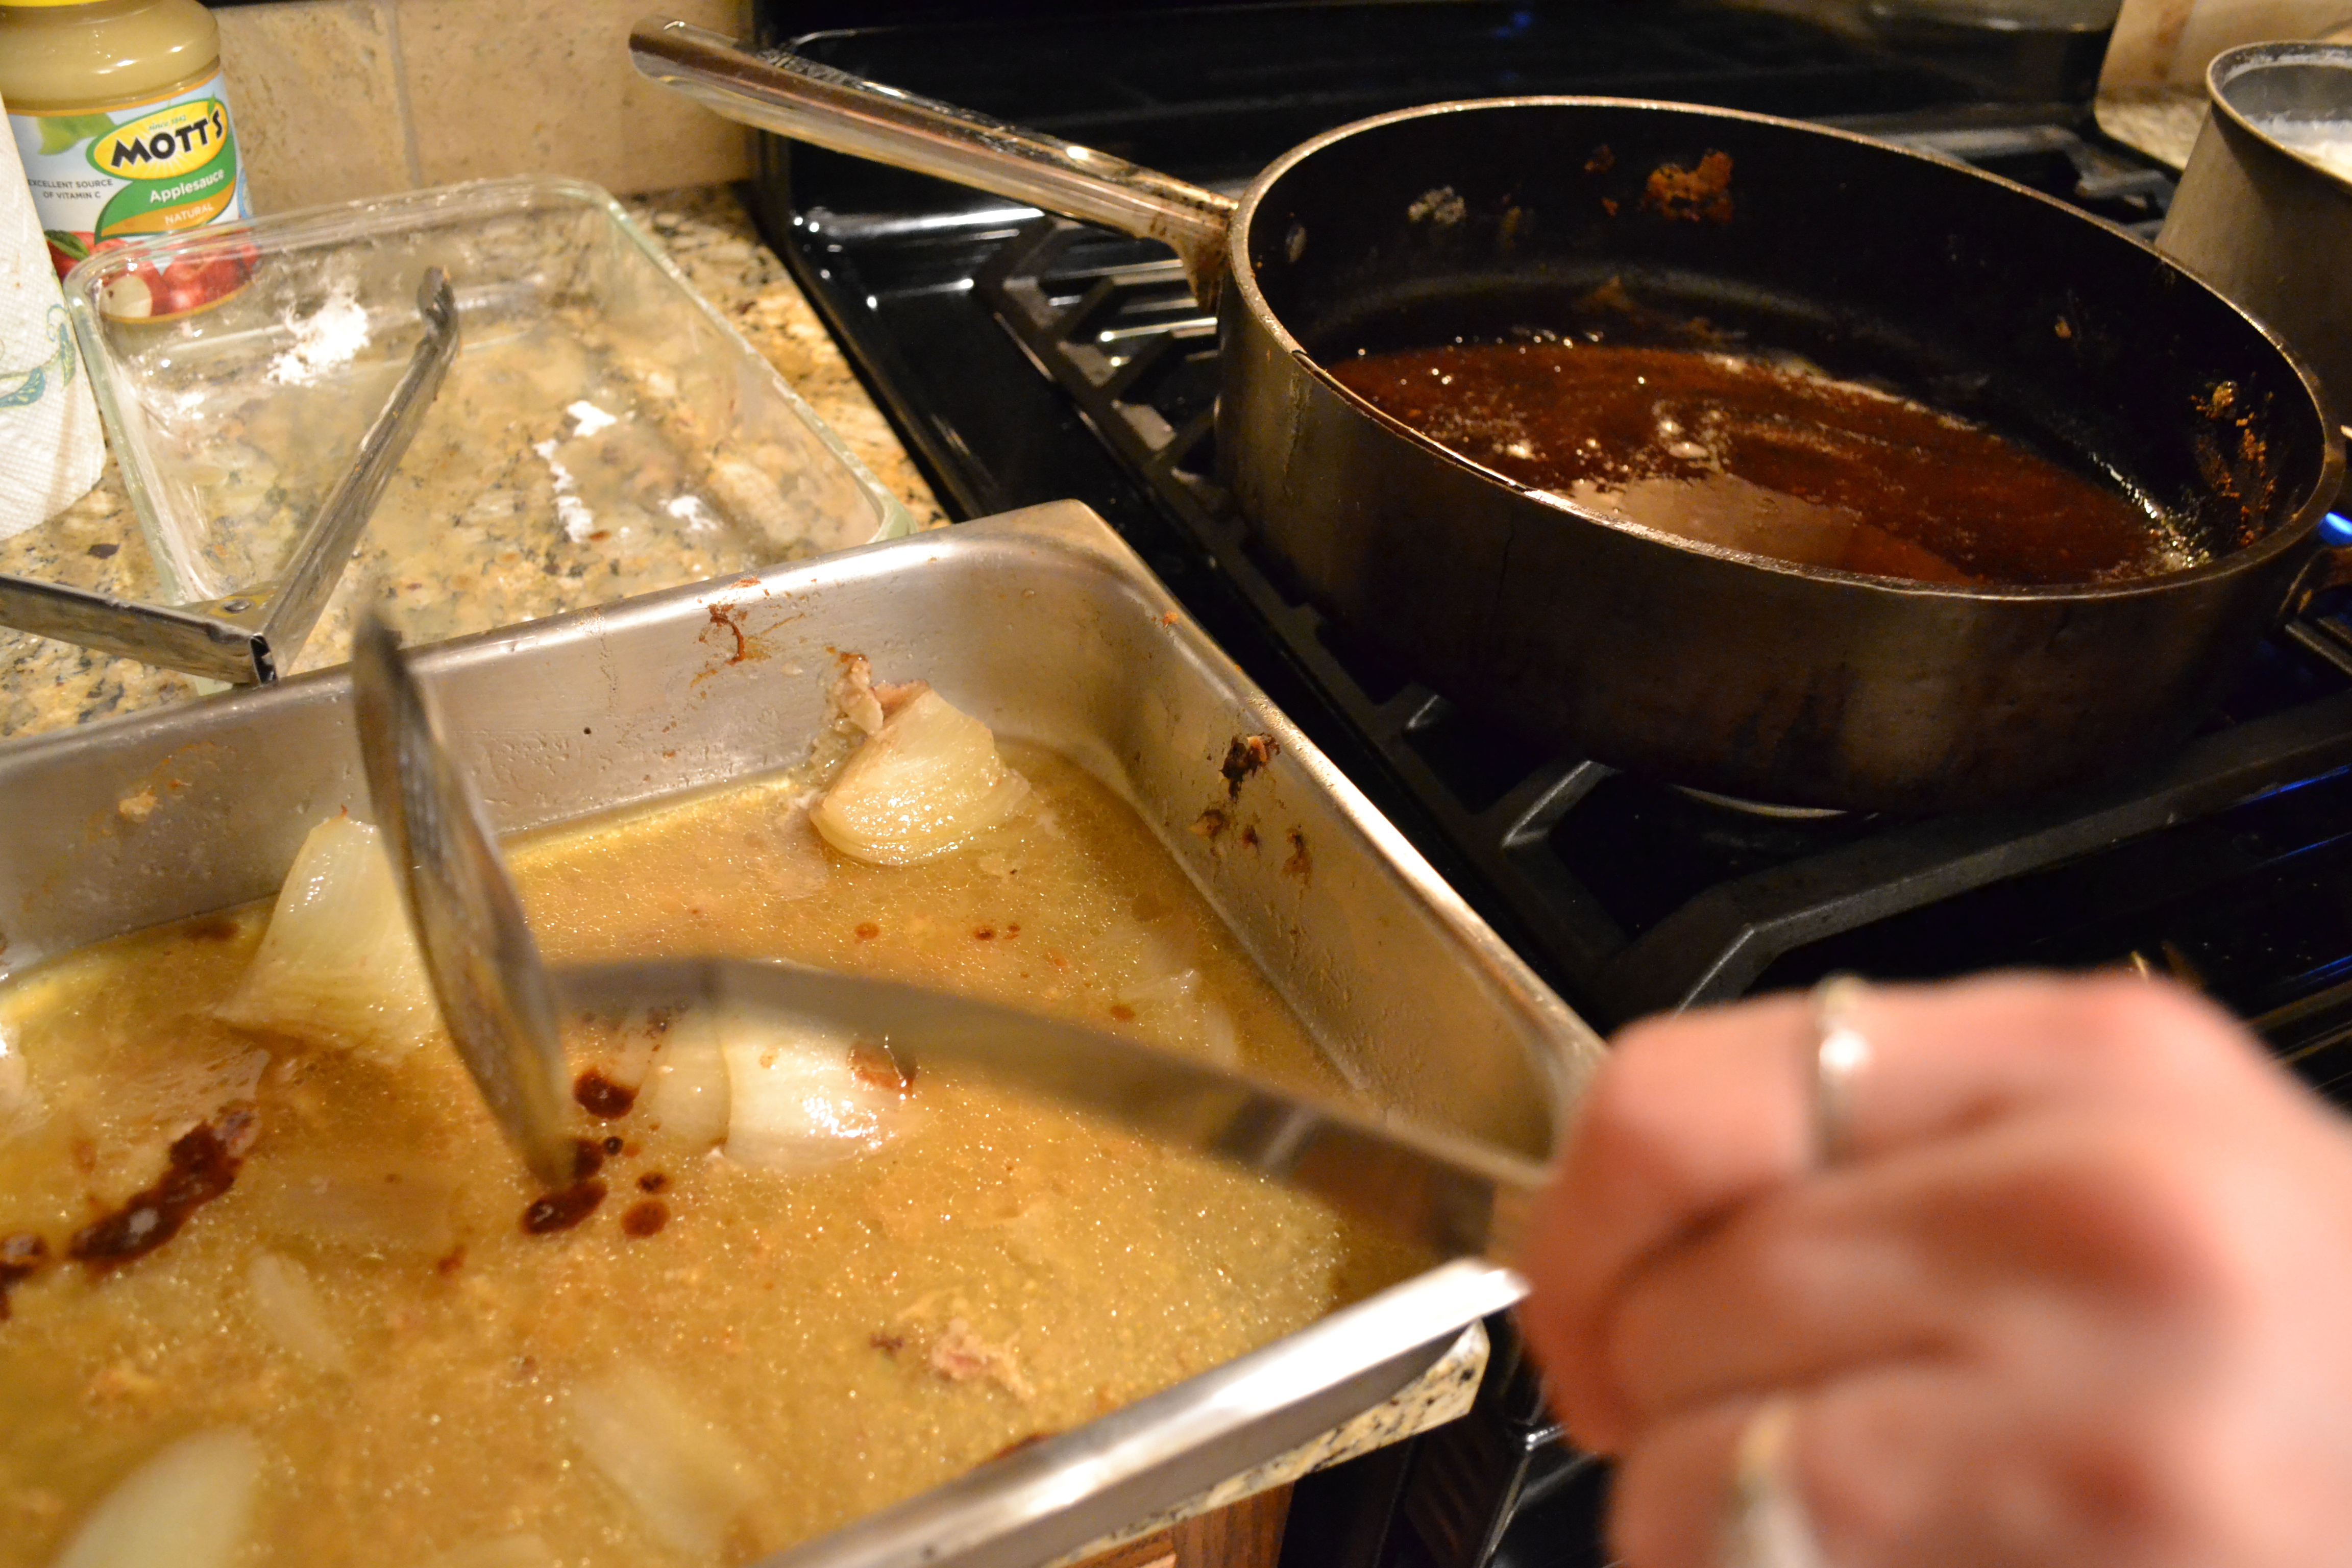
    I cooked the stock pot on the stove top on medium low and the crock pot on high for four hours each. I then put a strainer in a bowl to catch all the bigger chunks.

    Then it was ramen time. I have never actually made ramen but I do know that the broth is the cornerstone of the dish. Reading the other turkey ramen recipes online from Bon Appetit, Epicurious, Serious Eats, and The Woks of Life I was inspired, but I didn’t have all the ingredients they used in their recipes. The day after Thanksgiving is all about comfort and sweatpants so I was not about to go all the way to the grocery store for some shiitake mushrooms and fresh ginger. That is the beauty with ramen, if you have a fairly stocked pantry- you should be able to make it your own way.

    Ramen ingredients:

    • 4 pieces of bacon
    • 4 cups of turkey broth
    • 2 palm fulls of leftover turkey
    • 2 servings or “ of ramen noodles
    • 1 egg
    • 6 scallions
    • 1 carrot
    • A dash of ginger powder
    • A dash of garlic powder
    • 2 tablepoons of Soy sauce
    • A dash or two Sesame oil
    • Sesame seeds
    • Chili oil

    My ramen steps:

    1. Fry up 4 pieces of bacon- not too crispy
    2. Soft boil and peel the egg- I used Epicurious’ direction of lowering eggs into boiling water for 7 minutes then moving to ice bath.
    3. Chop up the scallions (white and green parts), carrots (I made mine like large matchsticks), leftover turkey, and bacon.
    4. Using the same water from the boiled egg, cook your noodles according to directions and drain.
    5. Add your broth to the saucepan and bring to a strong simmer.
    6. Add the carrots and cook until tender.

    THIS IS WHERE YOU NEED TO BECOME THE MASTER OF YOUR OWN BROTH.

    7. Slowly add the soy sauce a half tablespoon at a time. Add a dash of sesame oil here and there. Add a dash of powdered ginger and or garlic powder here and there. Keep slowly adding these umami tasting ingredients until you get to a ramen base that meets your needs.

    Remember, it is easier to slowly add elements then remove. AND you are about to add scallions, bacon, turkey, and chili oil so more flavors are coming!!!

    8. Once you have your ramen broth base where you want it, add your turkey to warm it up.

    9. Portion everything in the pan into two bowls.

    Here is where you get artsy.

    10. Make little piles on top of your noodles & broth: scallions, turkey, bacon, and one half of your soft boiled egg. Then drizzle chili oil to your liking.

    11. Take a picture for your social media accounts and to send to your family to make them jealous.

    12. Enjoy!

    Questions, comments, concerns? Share below.

  • Irish Car Bomb Cupcakes

    Irish Car Bomb Cupcakes

    St. Patrick’s Day is filled with delicious food: corned beef and cabbage, soda bread, beef stew, shepherd’s pie. Do not forget the dessert! And frankly, look no further. These are the best cupcakes you will ever eat.

    DSC_0403

    The recipe is from Smitten Kitchen… side note if you don’t already have this cookbook/follow this blog you are missing out. My only note would be that you do not need to cut the center out of the cupcake. After the cupcakes come out of the oven and are cooling on a rack, take the handle end of a large cooking spoon and push a hole into the cupcake. Pulling out the center is messy and unnecessary.

    And if you cook a few extra… you can bring them down to the St. Patty’s Day beer tents with you. Sell them for $5 a piece to hungry leprechauns and finance your beverage purchases for the night. Not that I have any experience doing that…

  • Empanadas

    Empanadas

    Super bowl is great opportunity to make some tasty foods and this year I want to offer something extra special. I looked through my appetizer board on Pinterest and one thing that stuck out to me was empanadas. There are so many different recipes to choose from but I chose this recipe from myfridgefood as my inspiration. My empanada preparation was a little different and I chose to make mine a little smaller since there would be a lot to choose from at the party.

    I should say that this recipe is multi-step and can be pretty labor intensive depending on how big or small your empanadas turn out. If making from scratch, you need to make the dough, make the filling, roll and cut the dough, fill the dough, and then bake the dough. There could be short cuts if you bought pre-made dough, pre-made filling, or if you ask a friend to help. The recipe you see in this how-to is doubled fyi, since it was Super bowl I wanted to make a lot.

    First I made the dough using this recipe from Laylita’s Recipes but instead of using the food processor, I used a Kitchenaid mixer.

    DSC_0547

    After you make your dough it needs to refrigerate for a half hour.

    DSC_0549

    While the dough was in the fridge, I started making the filling. My recipe is a little different than my inspiration, I used more ingredients and my preparation is not exactly the same.

    DSC_0556

    Cut up your chicken into one inch cubs, and dice your onion.

    DSC_0557

    Add a 2 tablespoons vegetable oil to the bottom of the pan and set to medium high heat. Then throw these ingredients into the pot at once: chicken, onions, chipotles, can of diced tomatoes, cumin, coriander, and garlic.

    DSC_0560

    Let the juice from the tomatoes and the chicken create a hot tub for the chicken and other ingredients. Stir every 5 minutes cook until the chicken is tender and shreds easily… maybe 30-45 minutes.

    DSC_0570

    Then I just took a hand potato masher to the dish and broke up the chicken, tomatoes, and peppers. Let the excess moisture cook out. I think the filling could easily be made in the crock pot, I would just add all the ingredients as I did above, put it in a crock pot on low while you go to work or run errands maybe 6-8 hours and then voila!

    DSC_0571

    Your filling will need to cool before you stuff. I made the dough and filling the night before but you could put the filling in the fridge or freezer to cool while you roll out and cut the dough. Note, the longer you let the dough sit the harder it will get because it has butter in it. Don’t worry though, as soon as it warms up a bit it will become easier to work with.

    Clean a large surface:

    DSC_0575

    Dirty that same large surface with a lot of flour (and have more standing by):

    DSC_0576

    Roll out your dough, the directions say 1/8”, I just let the dough gods take over. Then use whatever tool you want to cut. I used an oval cutter, the directions call for a circle.

    DSC_0581

    Then fill! I put a little queso fresco down first, then the shredded chicken filling, fold over the sides, and then I used a fork to seal the sides. This is really the step that I think having a partner would speed up the process.

    DSC_0587 DSC_0588 DSC_0589 DSC_0590

    When you start to get to the end of your filling process, turn your oven to 400 degrees. I used parchment paper (NOT WAX PAPER) when baking as much as possible as it prevents sticking and it saves on clean up. Line your empanadas up – the dough will not expand a lot so they don’t have to be that far apart.

    DSC_0612

    Make your eggs wash with 2 eggs and a few tablespoons of water. Paint the eggs wash on top and pop the empanadas in the oven for 30 minutes.

    DSC_0613

    DSC_0617

    Ingredients:

    (for a single batch)

    For the filling

    • 2 tablespoons of vegetable oil
    • 1 yellow onion diced
    • 1 can of diced tomatoes (do not drain)
    • 1 ibs of chicken
    • 1 small can of chipotles in adobo- you will use 2 peppers and 1 tablespoon of the sauce (adjust the spice as you need it)
    • ½ tablespoon of cumin
    • 2 tablespoons of ground coriander
    • salt and pepper
    • 1 package of queso fresco

    For the dough

    Laylita’s Recipe

    To finish:

    • 2 eggs
    • 2 tablespoons of water

    Directions

    Make the dough according to Laylita’s directions either using a food processor or Kitchenaid mixer. Let it cool in the over for at least a half hour.

    While the dough is cooling, chop your chicken into one inch cubes and dice your onions. Put 2 tablespoons of oil in the bottom of a pan and heat to medium high heat. Add the chicken, onions, tomatoes, chipotle peppers, adobo sauce, cumin, coriander, salt, and pepper.

    Let the mixture cook until the chicken is very tender and able to shred, about 30-45 minutes. Then begin shredded the chicken with forks or potato mashers. Make sure that almost all of the liquid is cooked out of the pan.

    ***Or throw all of these ingredients into a crock-pot and cook on low for 6-8 hours.

    While the filling is cooling, roll out the dough on a clean and well-floured surface. If the dough is stiff from being cool breathe on it for a few minutes (kidding), just give it some time. Roll out the dough to 1/8”. Select a round or oval pastry or cookie cutter that is 3 inches for a small empanada or 4-5 inches for a larger empanada.

    Fill each piece of dough with a teaspoon to a tablespoon (depending on your size) of queso fresco and then top with as much chicken mixture that will fit. Fold over the sides and seal with a fork.

    When you are getting to the end of dough filling, set the oven to 400 degrees. Lay parchment paper on a cookie sheet; line your empanadas with a little space in between.

    Create an egg wash from 2 eggs and 2 tablespoons of water; mix thoroughly. Paint each empanada with the wash, bake for 30 minute and enjoy!

    DSC_0619

  • Mom’s Fried Chicken

    Mom’s Fried Chicken

    For me, there is nothing more sacred than cooking a recipe that was passed down from someone you love. One of my biggest regrets in life is that I never got to cook with my grandma. I was twelve when she died and now when I cook one of her recipes I trust that she is in heaven guiding me around the kitchen. Spend time with the talented cooks in your life, cherish the memories and soak up all of their knowledge.

    Tonight, I spent time with my favorite family chef, my mom. I love cooking with my mom. It is our time to catch up and do something that we both enjoy, together. She learned to cook from her mom and someday I will teach my daughter. Through my blog I hope to chronicle some of her recipes- warning, none are healthy. She learned from my grandma who would fry bacon and then use all the grease for the hash browns. They are delicious though, and we start this series off with deliciously unhealthy fried chicken.

    Have you ever looked up how to make fried chicken? I have, you will find a million different ways, different breading, oil, seasoning, etc. This recipe adds one more to the mix.

    To begin, set your oven to 350 degrees

    The oil:

    Equal parts butter and Crisco… oh yeah forgot to mention, if you are looking for specific measurements this might be the wrong fried chicken recipe for you. As I was saying, equal parts butter and Crisco (eyeball it).

    DSC_0487

    Do you remember this scene from the help? Crisco really is magical.

    Get the oil going over medium-high heat. While it is warming up, dredge your chicken in flour that has been lightly peppered. Start with you chicken breasts first then your other chicken pieces.

    DSC_0489 DSC_0490

    You will know oil is hot by putting a little flour in first and if it fries up the oil is ready. Put your chicken breasts meat side down and let the brown up for 5-10 minutes until they are the color of these bad boys:

    DSC_0494

    Then flip them; the other side will take less time but aim for a similar color.  You may need to add more butter and Crisco for the second batch. While they are finishing up frying quarter an onion and put it at the bottom of a flat bottom metal pan with sides.

    DSC_0493

    Place the browned chicken breasts in the pan, cover with tin foil and put them in the oven. Since the breasts are meatier, this will give them more time to cook. While they are in the oven, follow the same steps with the wings, legs, etc. Add the rest of the chicken to the breasts, recover, and bake for an additional 30-45 minutes. During this time peel, chop, and begin to boil potatoes for mashing.

    DSC_0502 DSC_0497

    Don’t throw away the grease that you used to fry your chicken! My mom said this is where she gets all the good flavor for her gravy… while raising her eyebrows. When you pull the pan of chicken out, it should be at least 165 degrees and the pan will be filled with happy chicken juice. Place your chicken in a different pan and cover with foil and bring the happy chicken juice metal plan to stove top to begin the gravy making experience.

    DSC_0519

    Gravy Tangent

    Making gravy… it is a skill. And like fried chicken, there are millions of ways (well maybe not millions) but a lot of ways to go about making gravy. My mom uses flour for poultry and cornstarch for beef and admittedly does not know why. This tradition is not based on science people and Alton Brown would most likely pull his hair out if he saw this (I have seen his gravy episode).

    DSC_0526 DSC_0528

    Anyways, to the happy chicken juice with floating onions my mom adds some of the browned bits of chicken and flour from the bottom of the fry pan (not the grease the little scraps). How much of the scraps? Maybe four little spoonfuls? She lights the burner to medium under the metal pan, adds three chicken bouillon cubes, and a half a cup of water. After it heats up in looks like a fun hot tub.

    DSC_0533 DSC_0538

    On the side, she has a cup with a half-cup of water and a half-cup of milk mixed and then a cup with a few tablespoons of flour and water that make a runny paste. The goal is to thicken the hot tub with a little paste, add a little milk mixture, little paste… on and on until it gets the right consistency.  Remember, that gravy will thicken more as it cools. If you are new to gravy… it wouldn’t hurt to have a spare gravy packet in the cupboard in case the whole thing goes to hell.

    Mash your potatoes with milk, butter, salt, and pepper and serve!

    DSC_0539

    Ingredients:

    Fried Chicken-

    • Whole fryer chicken cut up (if your family really loves the breasts or the legs consider buying extra… or another chicken)
    • 1 stick of butter
    • Crisco
    • Flour
    • Pepper
    • 1 Yellow onion quartered

    Preheat the oven to 350 degrees

    In a large frying pan, heat half the stick of butter and a large scoop of Crisco on medium-high heat. Dredge the chicken breasts in a shallow pan with flour that has been dusted with pepper until the breast is covered. Place the chicken breasts meat side down in the oil and fry for 5-10 minutes until brown then flip and fry the other side.

    In a metal pan with tall sides, add the onion quarters to the bottom. Break them up so they cover more of the bottom. Add the chicken breasts to the top of the onions; cover the pan with tinfoil and place in the oven.

    While the breasts are in the oven, follow the same process with the rest of the chicken. You may need to add the rest of the stick of butter and more Crisco to the frying pan. When both sides are brown, add them to the metal pan in the oven with the chicken breasts and recover. Bake for 30-45 minutes. DO NOT THROW OUT THE GREASE FROM THE PAN.

    When the chicken has reached 165 degrees (it will not hurt anyone if it cooks a little longer) take the chicken out of the metal pan, which will now be filled with juice. Place the chicken in a different pan and cover while you make the gravy.

    Gravy-

    • 3 chicken bouillon cubes
    • ½ cup of water
    • ½ cup water and ½ cup milk mixture
    • 2 tablespoons flour with another water mixed in to create a runny paste
    • Scraplings from the bottom of the frying pan

    Put the metal pan on the stove and begin heating the juice on medium. Add some of the scraps (pieces of chicken or flour) from the bottom of the fry pan (just a few teaspoons worth).

    Add the chicken bouillon cubes and the half-cup of water. Slowly begin to add a little of the flour paste then a little of the milk mixture until you have reached the perfect gravy texture. The gravy will continue to thicken as it cools.

  • Thai Butternut Squash Soup

    Thai Butternut Squash Soup

    It is January here in Minnesota, it is cold and windy outside. Sunday is for napping, relaxing, and eating home cooked meals. Tonight, to warm up I made some butternut squash soup featuring my favorite flavor, red curry. The inspiration for this recipe came from myrecipes.com but as with everything from my kitchen, I had to put my own spin on it.

    Leading role: butternut squash

    DSC_0475

    The biggest difference is that I started by roasting a whole butternut squash vs. using frozen cubes. I cut the squash down the middle, roast it inside down for 45 minutes at 400 and when you take it out the inside will be soft and scoop right out of the skin. You can take the seeds out before or after you cook it.

    Supporting characters:

    DSC_0469

    After pulling the squash out of the oven to cool, I started by sautéing the onion in some canola oil. As the onion became softer I added garlic, powdered ginger, and red curry and sautéed for a minute or so.

    DSC_0477

    The original recipe called for chicken broth but I substituted that with water and a chicken bouillon cube. I then added the coconut milk, lime juice, brown sugar, a dash of soy sauce, and the whole butternut squash.

    DSC_0478

    From here you can choose to eat your soup a little bit chunky or blend it in a blender, food processor, or with an immersion blender. I tried it both ways and think it is based on your personal preference. To garnish, use crushed peanuts and chopped cilantro which add texture and flavor.

    DSC_0480

    This soup is fresh, flavorful, and healthy.

    Thai Butternut Squash Soup:

    • 1 butternut squash soup
    • 2 tablespoons canola oil
    • 1 medium diced onion
    • 2-3 gloves of minced garlic
    • 2-3 tablespoons of red curry paste
    • 1/2 teaspoon powdered ginger OR 1 teaspoon of fresh minced ginger
    • 1 cup of water with 1 chicken bouillon cube OR 1 cup chicken broth
    • 2 tablespoons of brown sugar
    • 1 can of coconut milk
    • 1 tablespoon of lime juice- more to taste
    • 1 teaspoon of salt
    • 1 dash of soy sauce- more to taste
    • chopped peanuts and cilantro for garnish

    Preheat the oven to 400 degrees, cut the butternut squash length-wise down the center roasting skin up on a cookie sheet with sides. Roast squash for 45 minutes.

    Once squash is done and cooling, sauté the diced onion in the canola oil for 3-5 minutes until soft. Then add the ginger, red curry, and garlic to the pan and sauté for another minute or two.

    Add the broth, coconut milk,  sugar, salt, soy sauce, lime juice, and squash, simmer for 10 minutes. At this point you can either serve the soup chunky or blend the soup for a smoother finish. Either way, garnish with chopped peanuts and cilantro.